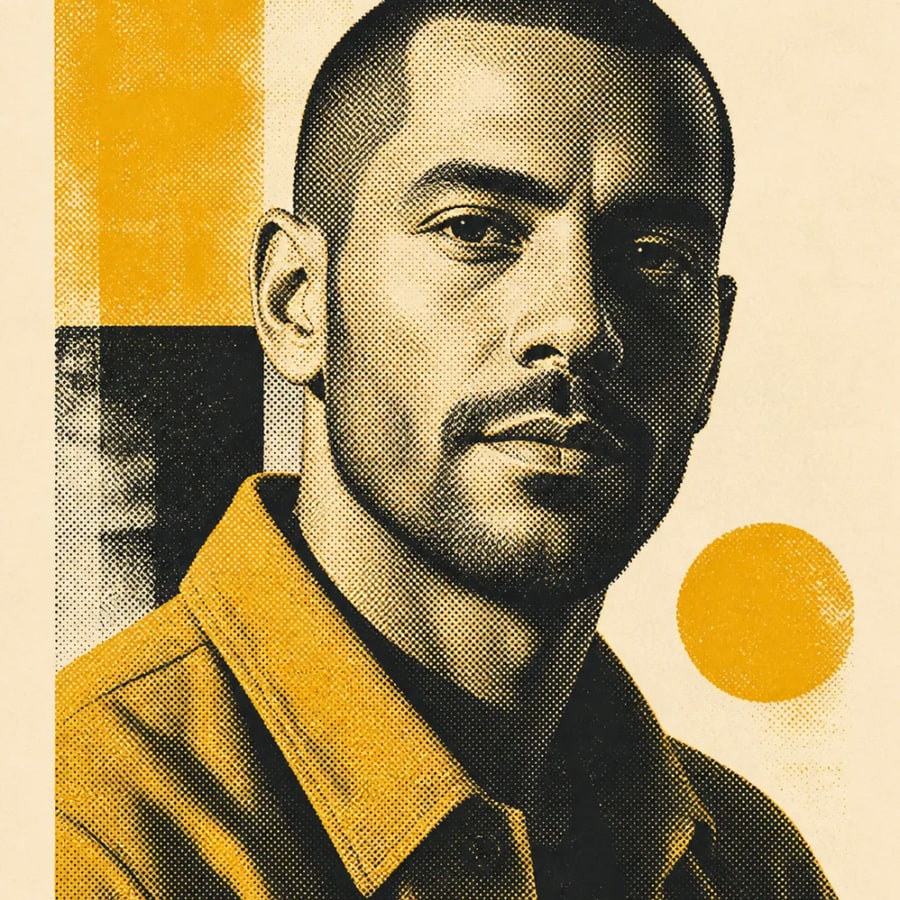
01Portrait
Duotone Portraits
Dense black dots preserve facial structure while a single spot color creates a sharp editorial finish.
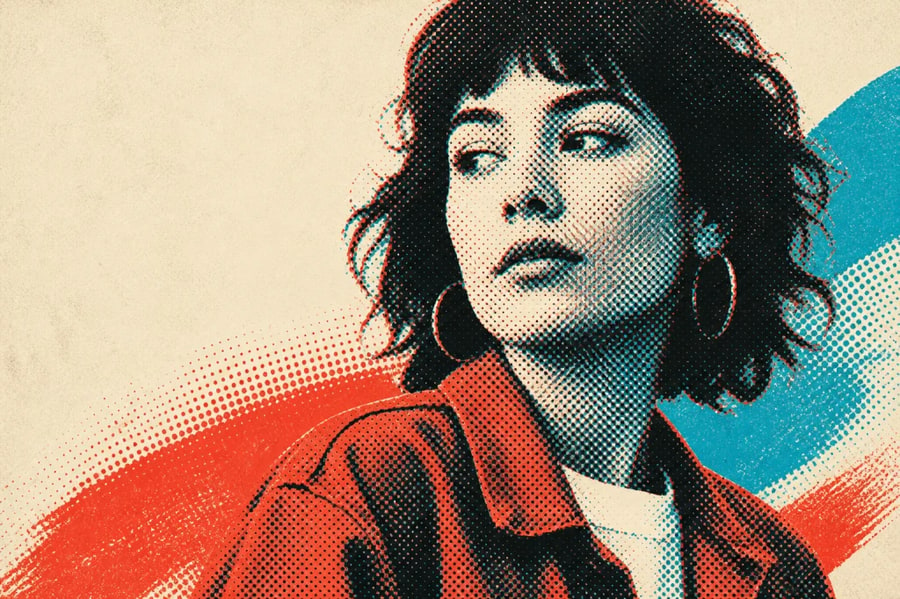
3 inks · visible dots · paper grain
Turn photos into a controlled halftone effect for DTF previews, posters, portraits, and print-inspired graphics. Direct dot scale, contrast, ink palette, paper grain, and registration texture while preserving the original subject.
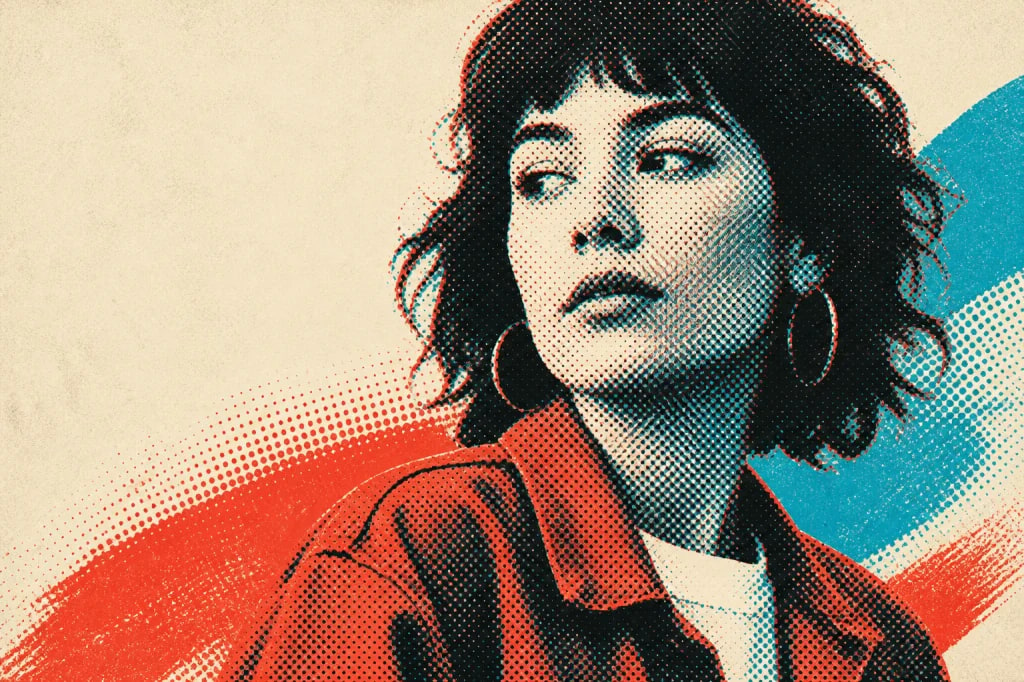
3 inks · visible dots · paper grain
01 / Visual directions
Halftone can feel precise, tactile, nostalgic, or energetic. Change the subject, ink palette, dot scale, and registration to give each image a different print voice.
Dense black dots preserve facial structure while a single spot color creates a sharp editorial finish.
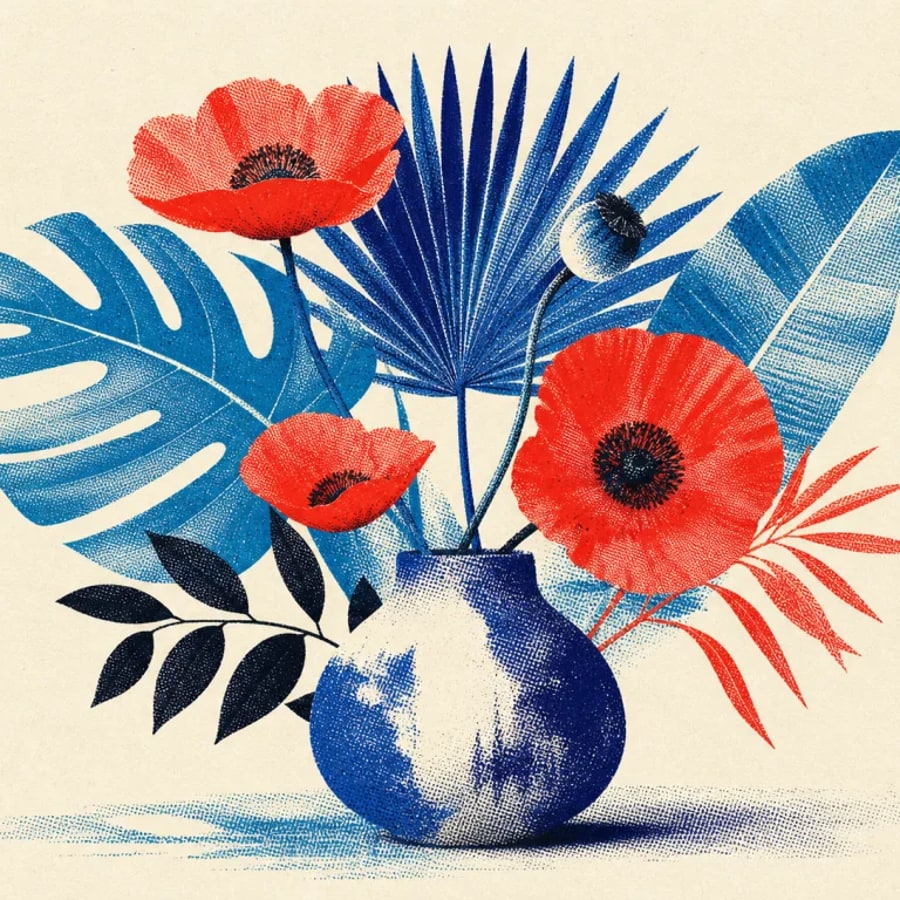
Layer cyan, cobalt, and vermilion screens for tactile plant artwork with visible ink overlap.
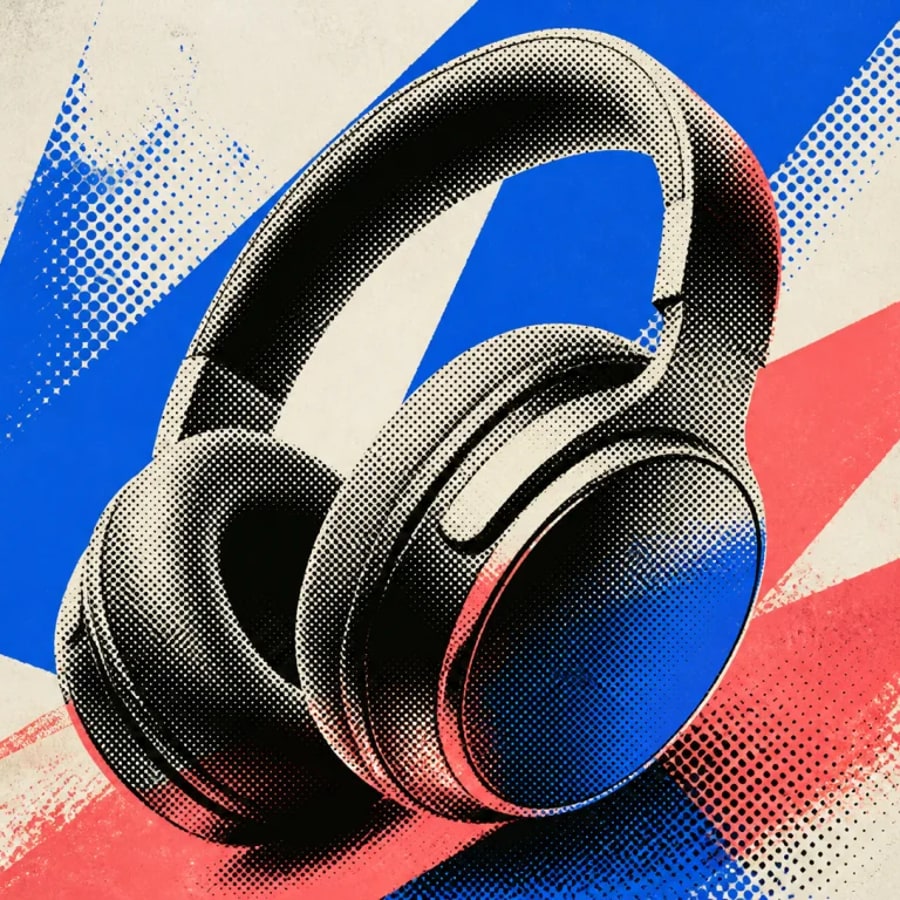
Keep an object recognizable while bold color blocks and printed dots add campaign-poster energy.
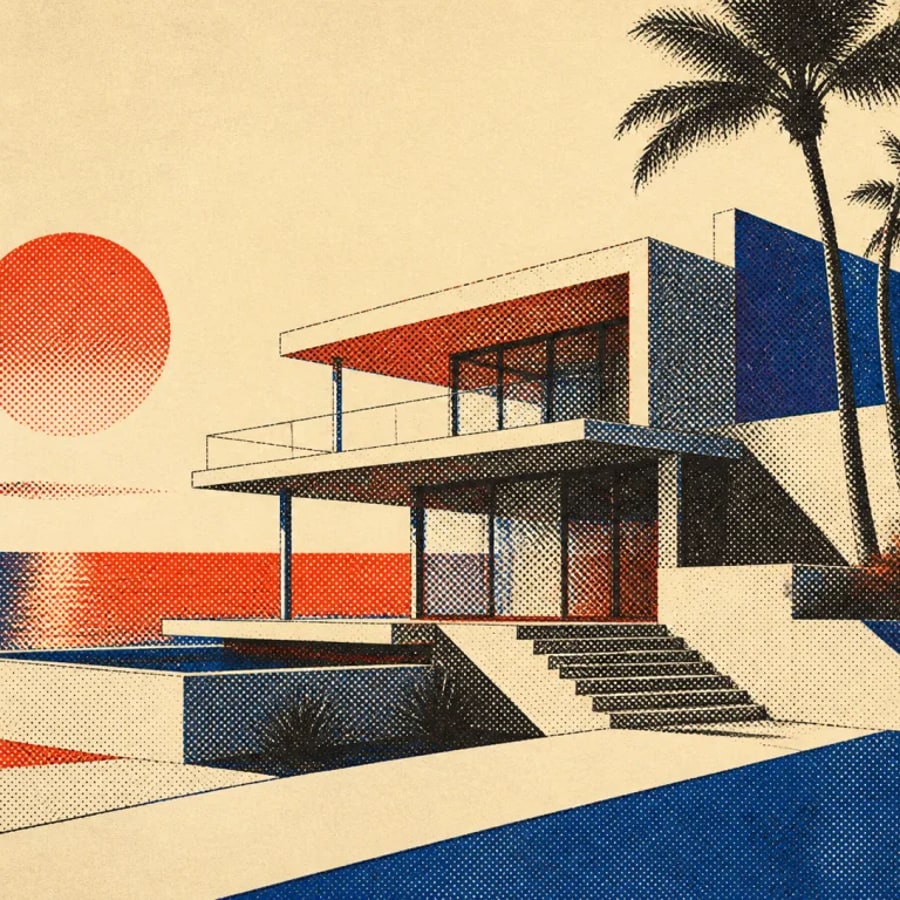
Reduce buildings and travel scenes into graphic planes, limited inks, and tactile paper texture.
02 / Why it works
Create readable halftone patterns that follow the light and shadow already present in your image.
Explore monochrome, duotone, and layered spot-color directions inspired by screen print and risograph.
Use portraits, products, plants, buildings, or travel photos while keeping the subject easy to recognize.
Describe the ink palette, dot scale, paper tone, contrast, and registration without building them manually.
Prompt + reference field guide
Use AI to explore and direct the halftone treatment. If the artwork will be printed with DTF, verify the final separation, transparency, resolution, ink behavior, and RIP settings in your actual production workflow.
Convert the uploaded portrait into a high-contrast black halftone. Preserve the exact face, silhouette, pose, crop, and important edges. Use clean circular dots at a medium visible scale; make dots denser in shadows and lighter in highlights. Keep the background plain, remove grayscale blur, add no text, and do not redraw the subject.
Choose a sharp, uncropped image with a clear subject, clean edges, and a wide tonal range from highlight to shadow. Flat lighting, heavy compression, tiny details, and busy backgrounds give the dot pattern less information to work with.
Make only the halftone dots about 25% larger and reduce midtone density. Preserve the face, pose, crop, background, palette, silhouette, and every important edge. Do not redraw the subject.
An AI halftone result is a raster visual concept, not automatically a production separation. Before printing, prepare and test the file with the requirements of your printer, film, ink, powder, fabric, and RIP software.
03 / Three-step workflow
Keep the source clear, describe one strong direction, then refine the output with deliberate changes.
Choose a clear portrait, product shot, still life, or scene with readable light and shadow.
Describe fine black dots, bold duotone, colorful risograph layers, and the paper finish you want.
Refine the palette or dot scale, then save artwork for posters, profiles, campaigns, or social content.
04 / Questions
It transforms image tones into patterns of printed dots. Filtrix also lets you direct limited ink colors, paper texture, and screen-print or risograph-inspired styling.
Clear subjects, good contrast, and readable lighting usually work best. Portraits, products, architecture, plants, and simple still lifes are especially effective.
Yes. Ask for monochrome black ink on white or warm paper, or introduce one extra spot color for a restrained duotone.
No. Pixel art uses square pixels at low resolution. Halftone uses dots of different sizes or spacing to reproduce continuous light and shadow like a printed image.
Yes. Halftone art works well for poster concepts, profile images, campaign graphics, editorial layouts, album visuals, and social posts.
Use a limited palette, visible round dots, uncoated paper grain, strong contrast, and a subtle registration offset between ink layers.
05 / Keep exploring
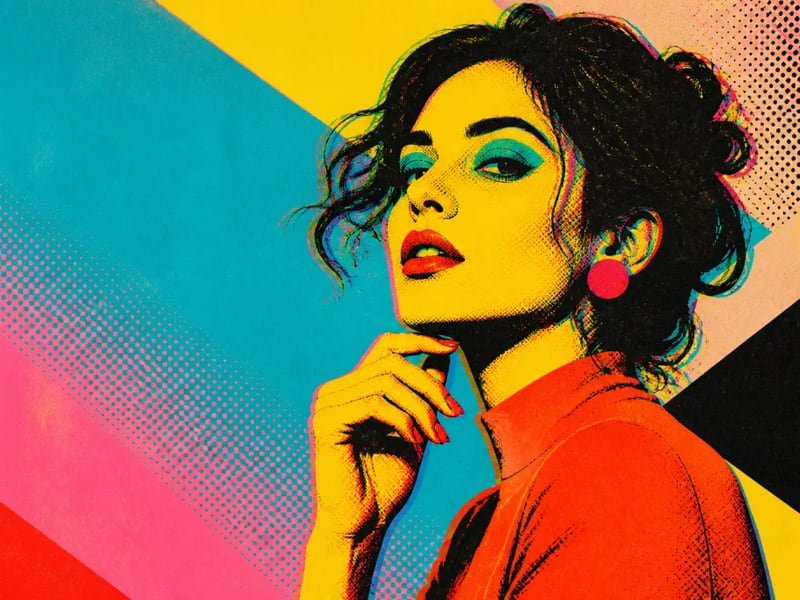
Turn portraits, products, flowers, and city photos into bold pop art. Direct vivid color blocking, halftone dots, black ink, paper grain, and offset print texture for a graphic editorial result.
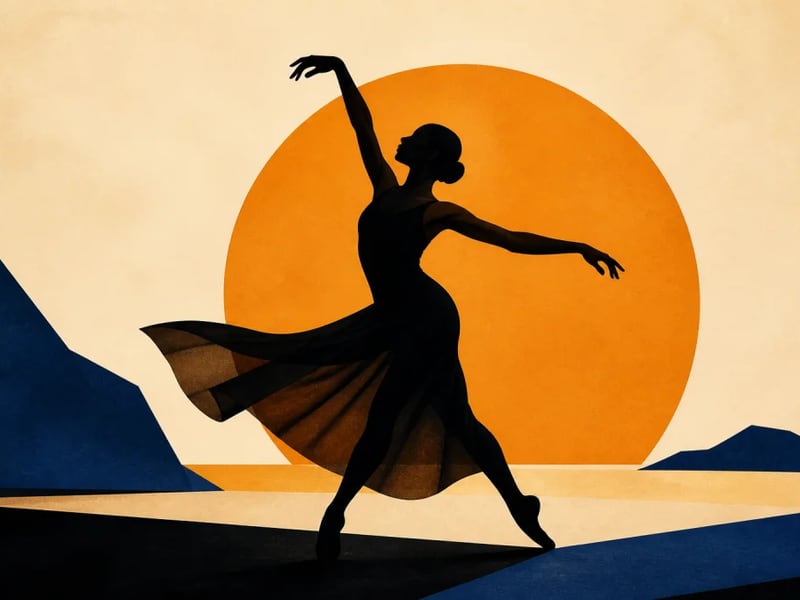
Turn a portrait, pet, object, or action photo into a clean silhouette. Preserve the identifying outline while simplifying interior detail for profile art, posters, crafts, and graphic compositions.
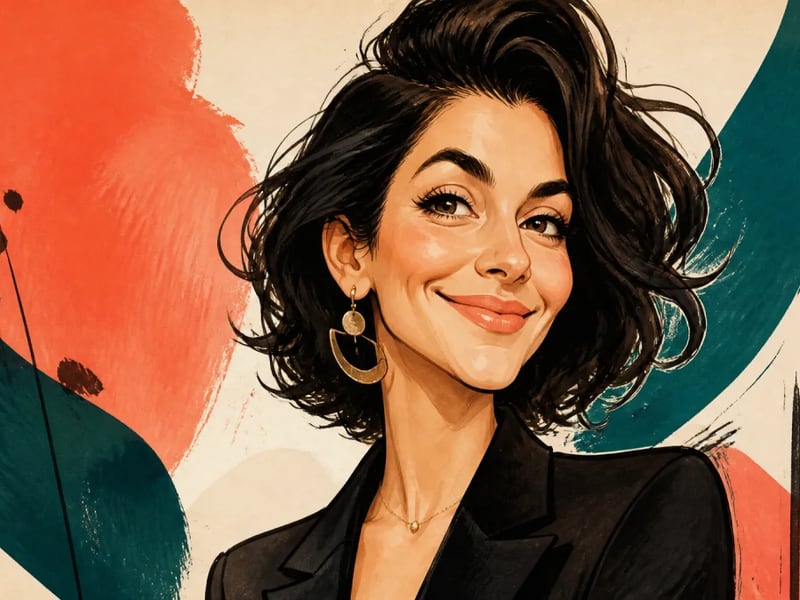
Turn a portrait into a lively illustrated caricature while keeping the person recognizable. Guide the expression, exaggeration, ink style, and color palette for gifts, profiles, and editorial artwork.
Upload an image, choose the inks and dot character, and generate a halftone direction ready for your next visual concept.
Start creating