Remove scratches, dust, and stains
Clean isolated marks and age damage while preserving real texture, clothing seams, hair, and background structure.
Repair scratches, dust, stains, creases, faded tone, and damaged edges while keeping the people, place, composition, and period character of the original photograph recognizable.
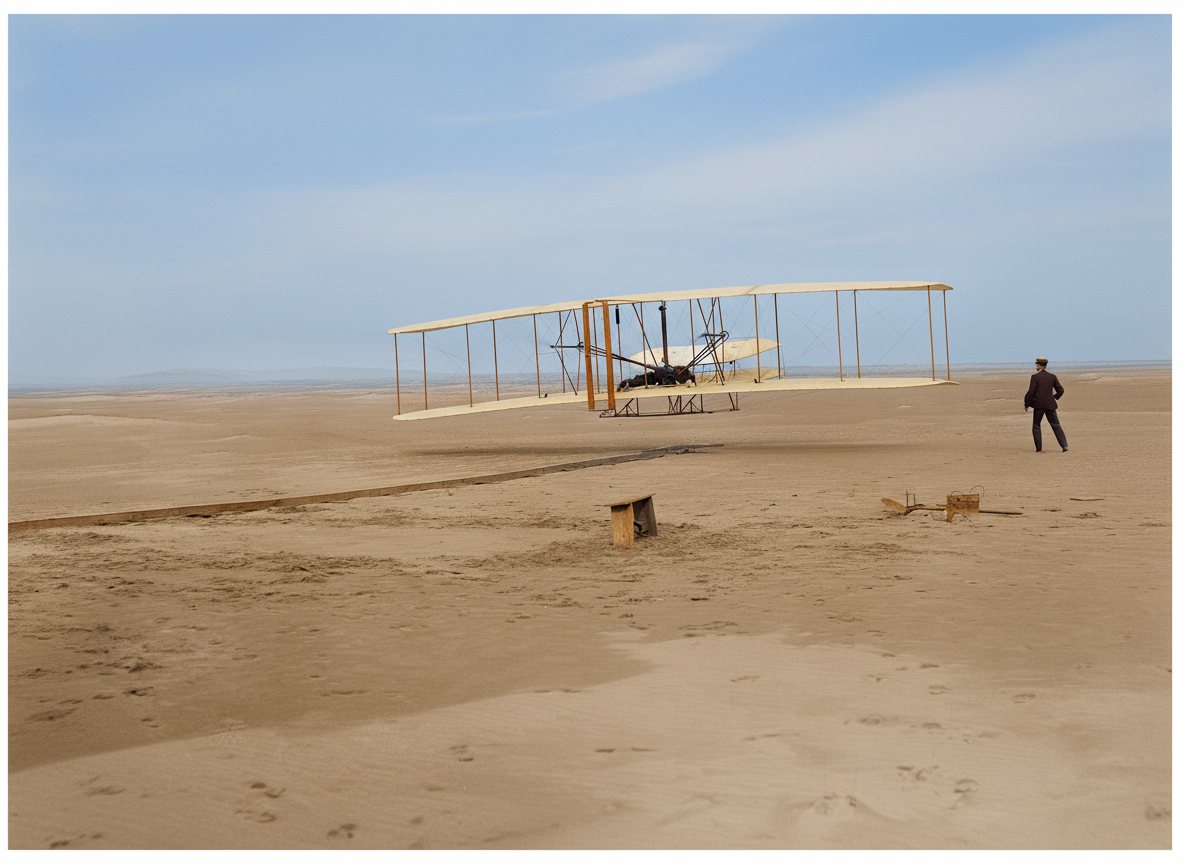
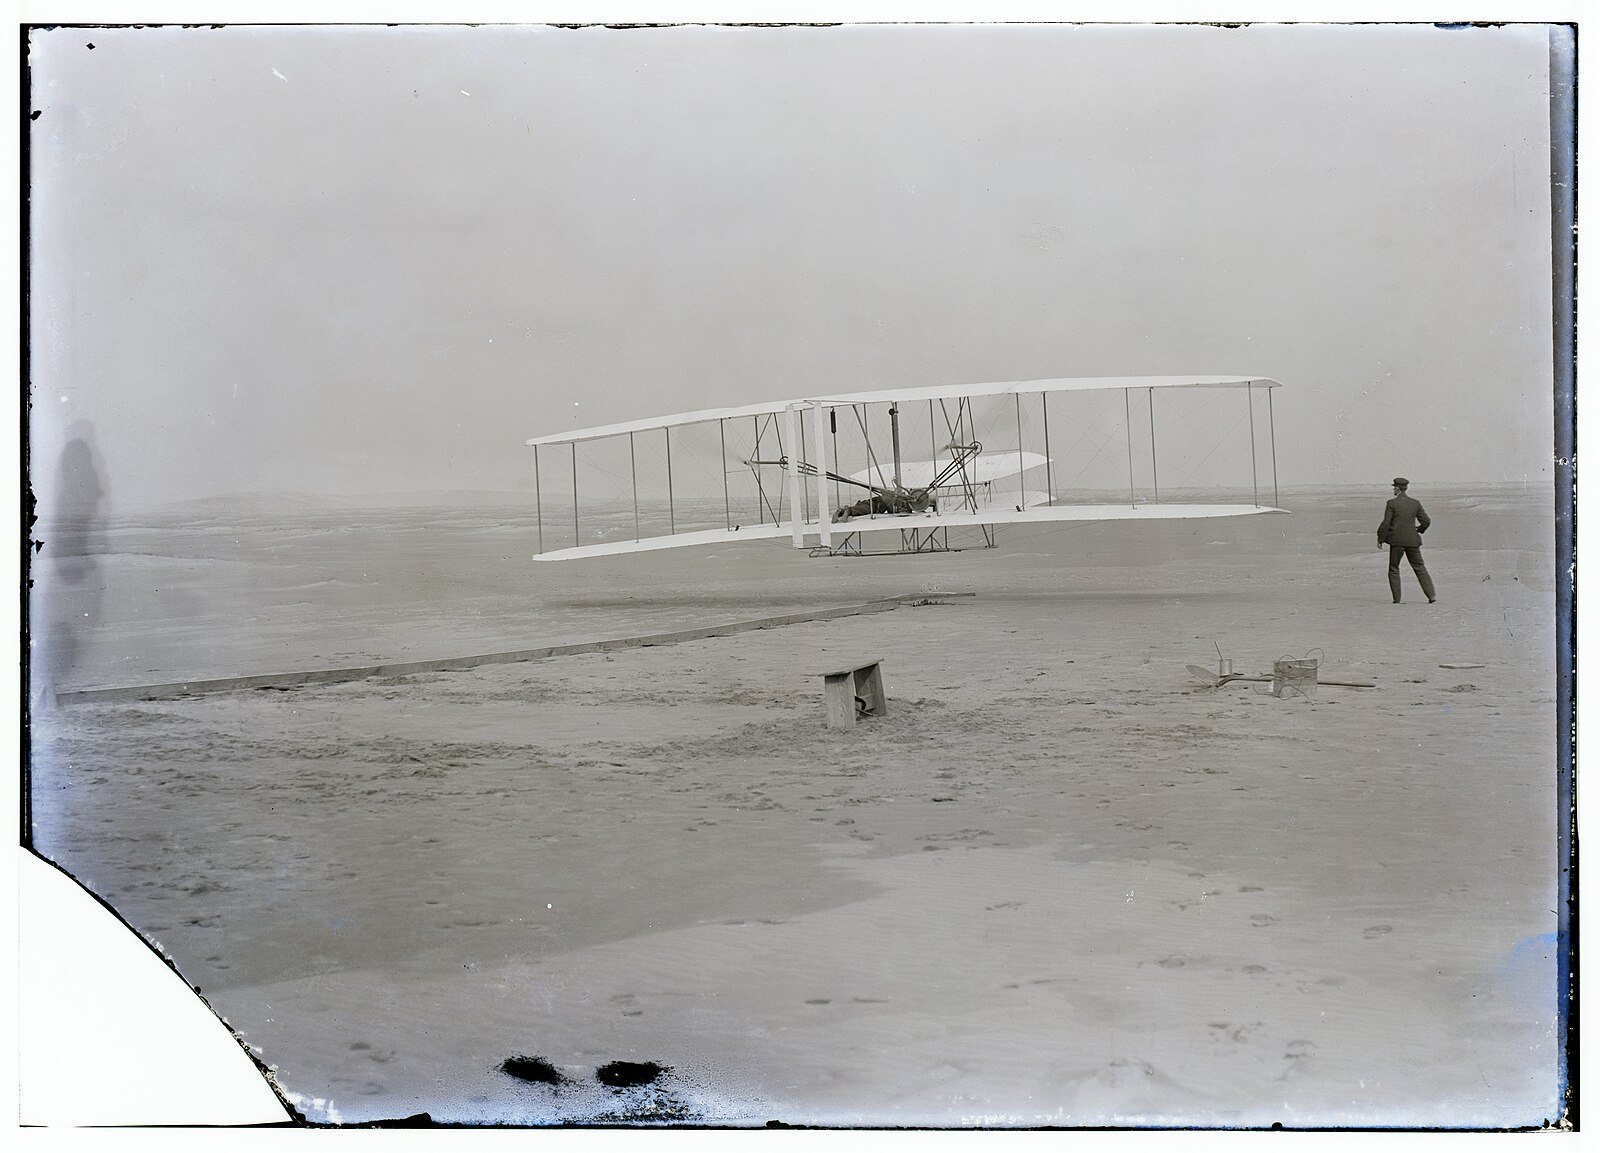
Photo restoration targets physical and age-related damage. It can clean contamination, rebuild small missing areas, recover tonal separation, and improve legibility before optional colorization or upscaling.
Clean isolated marks and age damage while preserving real texture, clothing seams, hair, and background structure.
Reconstruct torn corners, fold lines, and small missing regions using the surviving photograph as the visual reference.
Improve contrast and tonal separation, then keep authentic monochrome or request restrained, period-aware color.
The best restoration prompt separates documentary facts from defects. Lock identity and composition; name only the damage that should change.
Review: Inspect faces, hands, text, insignia, jewelry, architecture, and repeated patterns at full size. AI reconstruction is a visual interpretation, not factual recovery of missing information.
Upload the cleanest, highest-resolution scan or evenly lit photograph you have. Keep the full border when damage reaches the edges, and state exactly which features Image Edit must preserve.
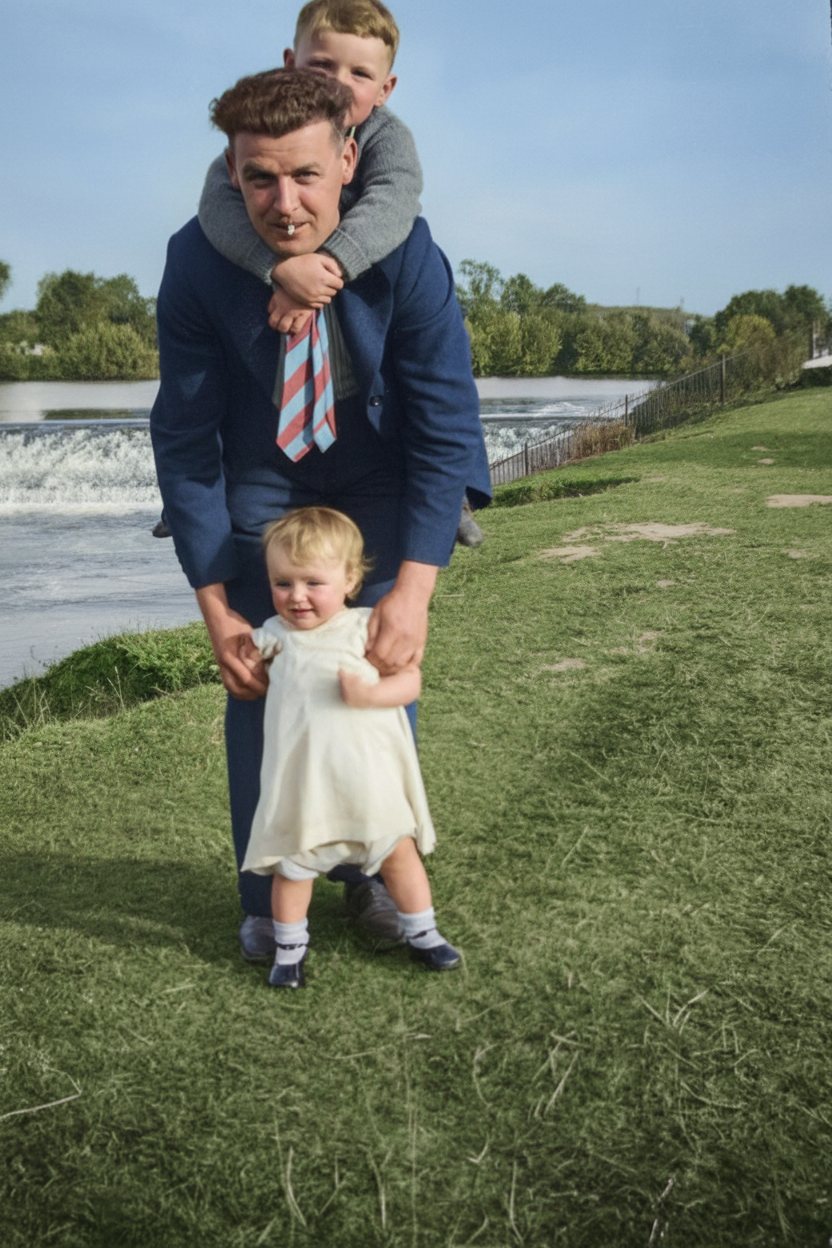
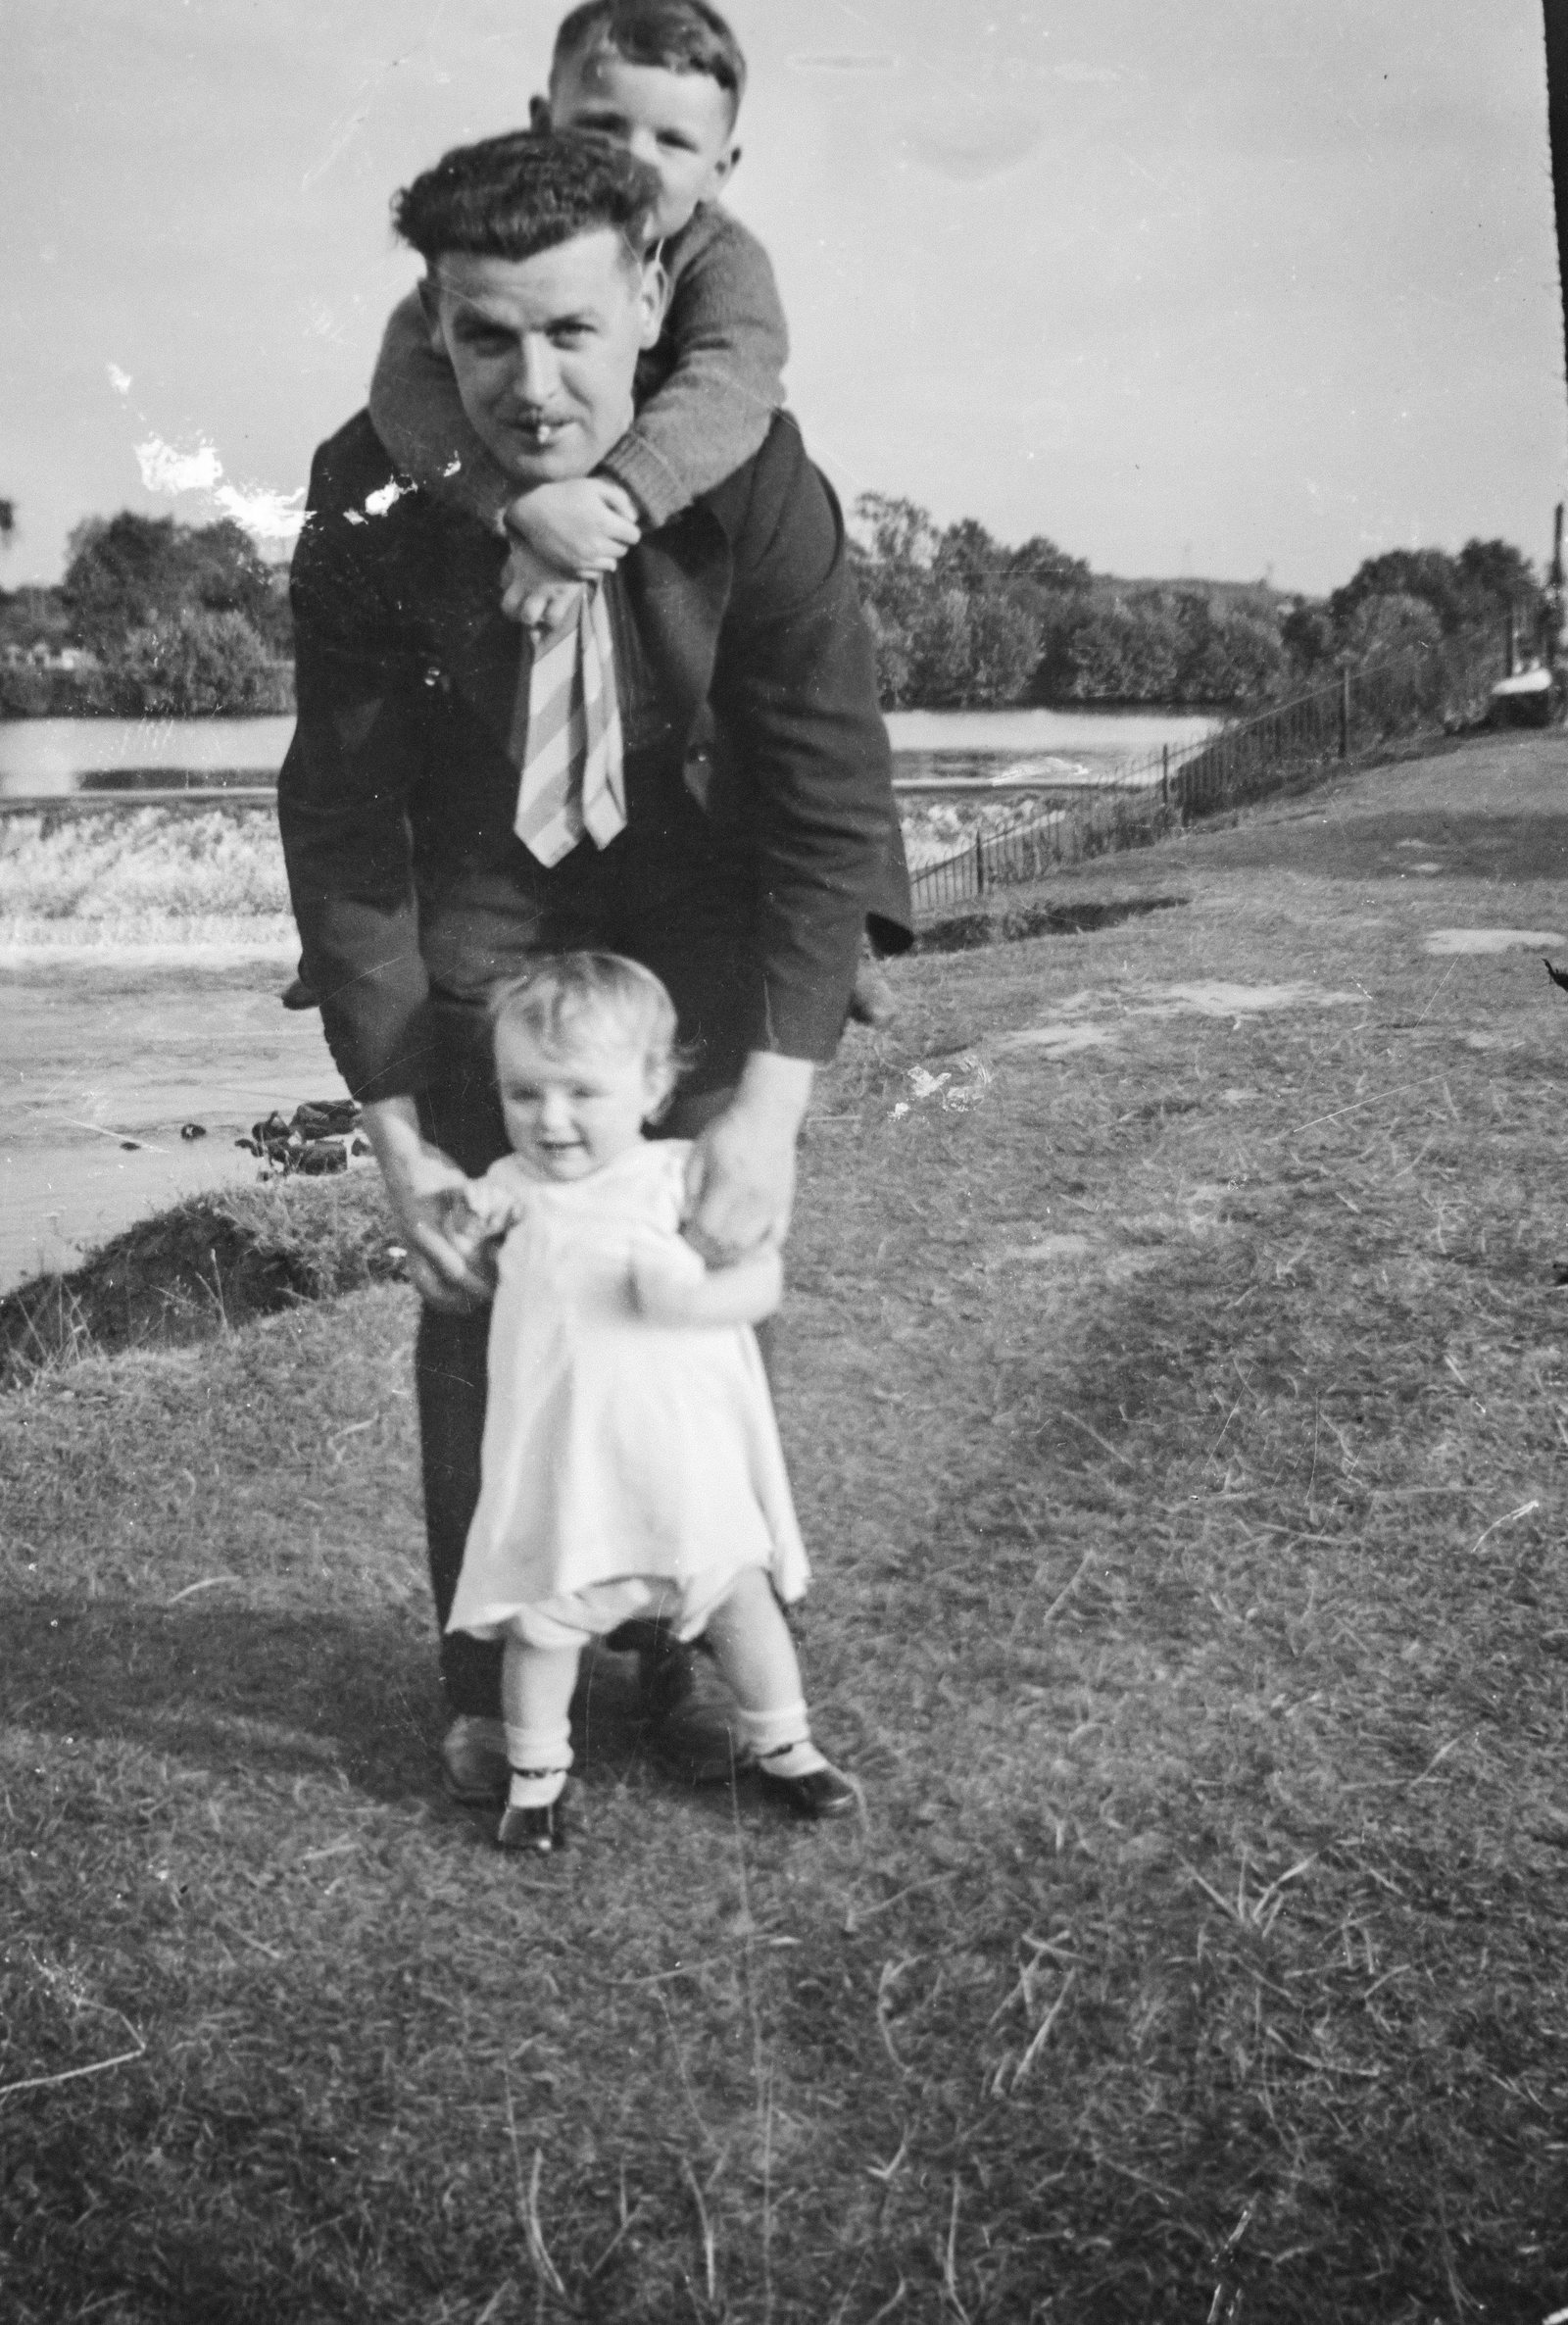
Open the existing Filtrix Image Edit workflow, use the original photo as the reference, and make the repair brief explicit.
Use a sharp scan or evenly lit photo with the entire print visible. Avoid reflections, aggressive compression, filters, and screenshots.
List scratches, stains, creases, fading, blur, or missing edges to repair, then state the identity and historical details that must not change.
Zoom into faces and factual details. If needed, use another narrow Image Edit pass for one remaining problem instead of regenerating everything.
Remove dust, spots, scratches, and fold marks without smoothing away faces, fabric, or film texture.
Restore tonal separation and clarity while keeping highlights, shadows, and skin believable.
Rebuild limited damage from nearby visual evidence while preserving the original crop and scene structure.
Clean and repair the monochrome original first; colorize only as a separate, optional creative interpretation.
Use the uploaded old photo as the reference image. Describe defects first, then lock people, objects, era details, and composition before requesting tonal or color changes.
Open Image EditRestore this old family photo. Remove scratches, dust, stains, and fold marks; repair damaged edges and small missing areas. Preserve each person's identity, age, expression, facial proportions, pose, clothing, jewelry, original composition, and period-accurate details. Improve tonal separation and restrained sharpness. Keep it black and white. Do not modernize faces, invent accessories or text, over-smooth skin, or change the background.
Better input and narrower instructions reduce invented details. Use this checklist before the first edit and again before accepting the result.
Capture as much real information as possible before AI touches the image.
The original is the identity and composition reference. The prompt only describes the intended repair.
Broad rewrites increase drift. Narrow Image Edit passes are easier to inspect and reverse.
Each pass should solve a visible problem while carrying forward the accepted details from the previous one.
Straighten the print and keep the full border or tear evidence before reconstructing edges.
Remove dust, spots, scratches, mold marks, and crease lines.
Repair only the torn corners or small absent regions supported by nearby evidence.
Recover restrained clarity, contrast, and facial legibility without changing identity.
Choose colorization as a separate interpretation, then upscale the approved restoration for delivery.
AI cannot know what was truly present in a missing face, medal, sign, building detail, or handwritten word. Keep the untouched scan, label colorized versions clearly, and treat reconstructed details as an interpretation.
AI photo restoration repairs visible age and physical damage in an existing photograph, such as scratches, dust, stains, creases, fading, blur, and limited missing areas, while trying to preserve the original people and scene.
No. Image enhancement broadly improves clarity, noise, light, contrast, and color. Photo restoration specifically addresses damage and historical preservation. Enhancement or upscaling can be a later finishing step.
A flat scan around 600 dpi is a strong starting point when available. Otherwise use even light, keep the camera parallel to the print, avoid glass reflections, and include the complete border and damaged edges.
Upload the best scan as the reference image. Tell Image Edit which defects to repair and explicitly preserve identity, age, expression, clothing, pose, composition, and period details.
Usually restore the monochrome photo first, approve the repaired structure, and colorize in a separate pass. This makes changes easier to compare and keeps the archival version distinct from the creative interpretation.
No. It can generate a plausible reconstruction from nearby evidence, but the result is an interpretation. Verify faces, writing, medals, jewelry, architecture, and historically important details before use.
Upload the best source to Filtrix Image Edit, state what must stay true, and repair only the damage the photograph actually has.
Restore an old photo